Last Updated: October 26, 2026
Quick Summary
Eliminating harmful bacteria in trash cans requires three separate steps in order: clean with soap and water to remove the film that feeds bacteria, apply a labeled disinfectant, and let it stay visibly wet for the full contact time on the label. Clean first, because disinfectant applied to a dirty bin is mostly wasted.
- Clean, sanitize, and disinfect are three different jobs, and a trash can needs all three in that order.
- Most households should clean their trash can every two to four weeks, and weekly during summer.
- Never mix bleach with vinegar, ammonia, or any other cleaner, since the combination can release toxic gas.
- White vinegar and dish soap are good cleaners and deodorizers but are not labeled disinfectants.
- Direct runoff away from storm drains, vegetable gardens, and pet water bowls when cleaning outdoor carts.
Table of Contents
- How Bacteria Build Up in Trash Cans
- The Health Risks of a Dirty Trash Can
- How to Disinfect a Trash Can Step by Step
- How to Keep Flies Away From Trash
- How Often to Clean a Trash Can
- Matching Your Cleaning Method to Your Bin Material
- When to Call a Trash Can Sanitizing Service
- Book a Professional Bin Cleaning
- Frequently Asked Questions
How Bacteria Build Up in Trash Cans
Eliminating harmful bacteria in trash cans starts with understanding how they get there. Every banana peel, coffee filter, and takeout container you toss leaves behind moisture and organic residue. That residue coats the walls and lid of the bin, and in warm weather it becomes an incubator.
The buildup happens in layers. Liquid from food waste pools at the bottom, then dries into a film that traps crumbs and grease. Each new bag adds another coat.
The Pathogens Living in Your Bin
The U.S. Department of Agriculture food safety guidance notes that bacteria multiply fastest in warm, moist environments with organic material present, which describes a closed trash bin in summer almost exactly.
None of these organisms announce themselves. You notice the smell first, then the flies, then the sticky residue on the lid handle. By the time the odor is obvious, the colony is well established.
The Health Risks of a Dirty Trash Can
A dirty bin is a hygiene problem before it is an aesthetic one. Pathogens on the lid and handle transfer to hands, and from hands to countertops and food.
The Centers for Disease Control and Prevention guidance on household hygiene treats proper waste handling as a routine part of preventing the spread of gastrointestinal illness.
Odor is the visible symptom of decomposing organic waste. Pests are the second symptom.
How to Disinfect a Trash Can Step by Step
Here is the process we recommend. The key idea most guides skip: cleaning, sanitizing, and disinfecting are three different jobs, and a trash can needs all three in that order.
- Cleaning removes visible soil, film, and grease. Soap and water do this. Cleaning alone removes most of the food source bacteria need, but it does not kill what is left.
- Sanitizing reduces bacteria on a surface to a level public health standards consider safe. It is a lower bar than disinfection.
- Disinfecting kills or inactivates most recognized pathogens on a surface, but only when the product is used exactly as the label says: right dilution, right contact time, surface kept visibly wet.
A common mistake is spraying a disinfectant onto a dirty bin. Soil blocks the active ingredient from reaching the surface, so the product wastes its contact time on grime instead of germs.
- Empty and rinse. Pull the bag, then hose out loose debris. Do this outside, away from storm drains and away from vegetable gardens or pet water bowls.
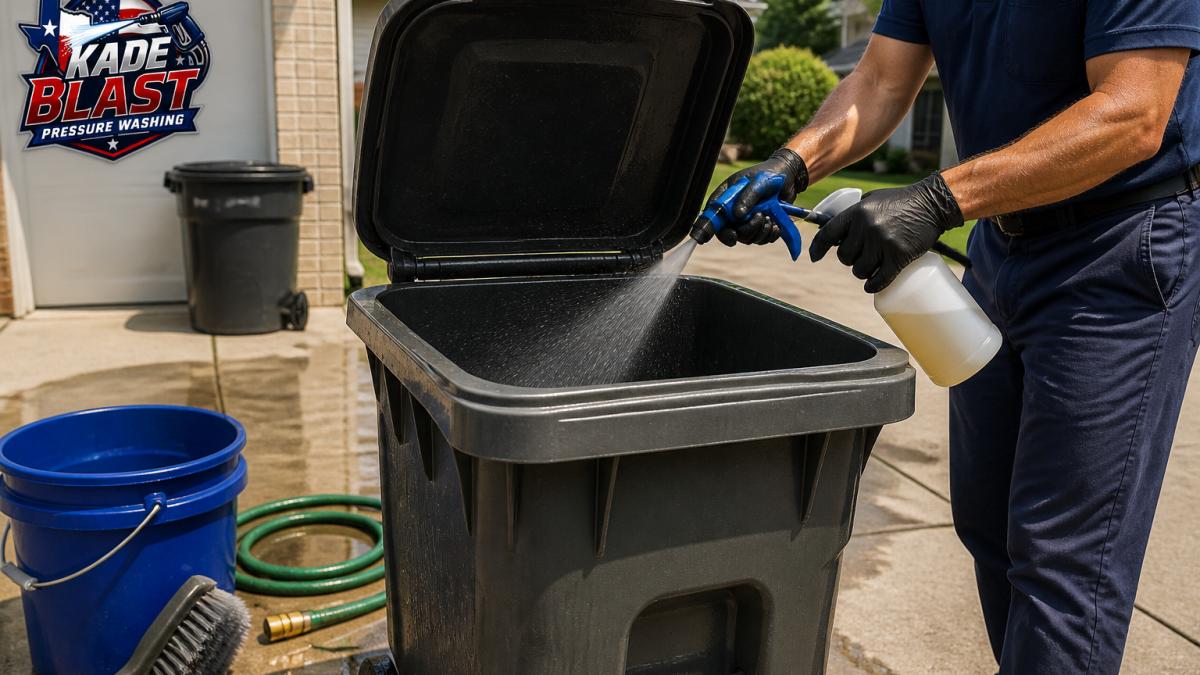
- Clean with soap and water. A mix of warm water and dish soap cuts grease and lifts the film that traps bacteria. Scrub the interior walls, lid, rim where the bag hooks, and the handle. Rinse before moving on.
- Scrub the hard-to-reach areas. The bottom corners, the inside of the lid, and the seams around wheels and hinges collect the worst buildup. A stiff brush gets into seams a rag misses.
- Apply a labeled disinfectant. Follow the label for dilution and contact time. Many household disinfectants need the surface to stay visibly wet for several minutes; if it dries early, reapply. Do not assume a quick wipe is enough.
- Let it sit for the full contact time. This is the step people rush. Set a timer if needed. Contact time is what separates a real disinfecting step from a scented rinse.
- Rinse thoroughly. Residual cleaner attracts new grime and can harm pets that investigate the bin. Rinse tools and gloves too, not just the bin.
- Dry completely. Tip the bin upside down in the sun. Moisture left behind invites recolonization within days.
What Household Products Can and Cannot Do
White vinegar and dish soap are good cleaners and deodorizers. They are not labeled disinfectants, and it is a mistake to treat them as germ-killers. If disinfection is the goal, use a product labeled as a disinfectant and follow its directions. Store disinfectants out of reach of children and pets, keep the area ventilated while you work, and wear gloves and eye protection.
Tools and Supplies You Actually Need
- A stiff-bristled scrub brush with a handle long enough to reach the bottom
- Rubber gloves and eye protection
- Dish soap for the cleaning step
How to Keep Flies Away From Trash
Flies are a symptom, not the root problem. Keeping them away means removing what attracts them: odor, moisture, and exposed food waste.
- Bag food scraps before they go in the bin, and double-bag anything raw.
- Keep the lid closed and check that it seals; a warped lid lets flies straight in.
- Rinse recyclables before tossing them. A sticky jar is a fly magnet.
A bin that is genuinely clean does not draw flies. That is the simplest test of whether your routine is working.
How Often to Clean a Trash Can
Most households should clean their trash can every two to four weeks, and weekly during summer. If you compost, have pets, or generate a lot of food waste, lean toward the shorter end.
The honest answer depends on what goes in the bin and how hot it gets. A family that cooks at home daily and lives through a humid summer will need more frequent cleaning than a household that mostly throws out packaging.
Matching Your Cleaning Method to Your Bin Material
Not every bin tolerates the same treatment, and the setting matters as much as the material. A kitchen bin you clean at the sink has different constraints than a wheeled outdoor cart you hose down in the driveway.
| Bin Type | Best Method | Watch Out For |
|---|---|---|
| Indoor kitchen plastic bin | Remove liner, wash in sink or tub with soap and warm water, disinfect per label, dry fully before relining | Water trapped in lid seams and pedal mechanisms; cleaner residue near food surfaces |
| Outdoor wheeled plastic cart | Soap and water scrub, rinse, labeled disinfectant, air dry upside down | Cracks in older plastic that high pressure can widen; runoff reaching storm drains |
| Heavy-duty plastic | Moderate pressure washing plus scrub | Warping if the nozzle is held too close |
| Metal bin | Soap and water, dry immediately, disinfect per label | Rust at seams, hinges, and the bottom rim; standing water |
| Recycling bin | Rinse and air dry; spot clean sticky residue | Residual cleaner contaminating recyclables; food residue attracting pests |
Cross-Contamination and Wastewater
The cleaning job does not end when the bin is dry. Splash, runoff, and the brush itself can carry contamination to hands, tools, nearby surfaces, and drains.
- Wear gloves and eye protection, and wash hands with soap and water after removing gloves.
- Clean the brush and bucket after use, and do not reuse them on food-contact surfaces.
- Direct runoff away from storm drains, vegetable gardens, and pet water bowls. Outdoor carts are best cleaned on a surface that drains to landscaping, not to the street.
Older bins in rough shape need a gentler approach. A bin that is already cracked can split under a high-pressure stream, so check the condition before you start. For indoor bins, dry every seam before relining; a damp lid seam is where odor and mold start.
When to Call a Trash Can Sanitizing Service
Some bins are past what a Saturday scrub can fix.
A trash can sanitizing service uses commercial equipment and specialized sanitizing agents to reach the surfaces a brush misses.
If you have a sensitive pet or a child who plays near the bins, ask any provider what products they use before booking. A service that uses pet- and family-safe deodorizers will tell you plainly.
Book a Professional Bin Cleaning
Eliminating harmful bacteria in trash cans is a job you can do yourself, but doing it well takes time, the right tools, and a willingness to get close to the worst of it.
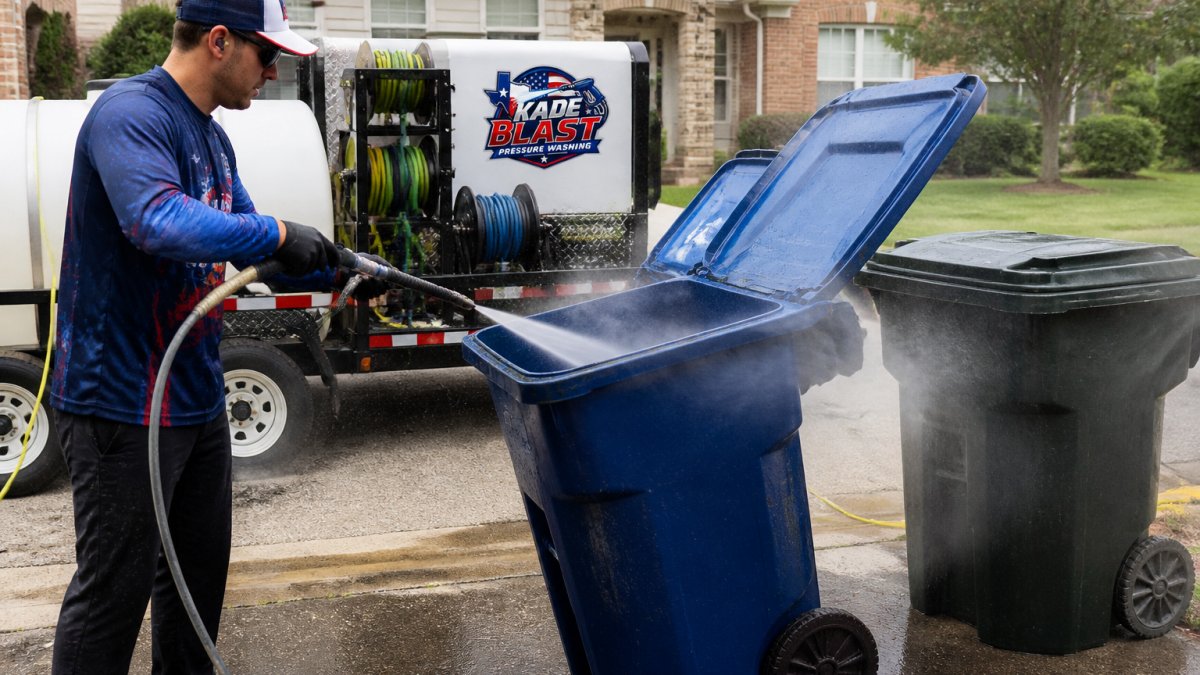
That is where we come in. At Kade Blast Pressure Washing, we use commercial high-pressure blast technology and specialized sanitizing agents to clear caked-on grime and odor from trash and recycling bins, then finish with eco-friendly deodorizers that are safe around pets and family.
Book Service and let our crew handle the bins while you get your Saturday back.
Frequently Asked Questions
How much bacteria is actually in a trash can?
A household trash can holds far more bacteria than most people expect. Food waste, meat packaging, and liquids leave a residue that feeds bacterial growth, and studies of household bins have found pathogen levels comparable to toilet surfaces. E. coli, Salmonella, and Listeria can all survive on bin walls and lids. Warm conditions speed up the process, so a bin in a hot garage or direct sun can build a heavy bacterial load within days of a single missed bag.
What is the safest way to disinfect a trash can?
Empty the bin, rinse loose debris, then apply a disinfectant and let it sit for the full contact time listed on the label, usually several minutes. Scrub the walls, base, and lid with a stiff brush, paying attention to hard-to-reach areas and the lid rim. Rinse thoroughly and let the bin dry completely in the sun before replacing the liner. Wear gloves, keep the area ventilated, and never mix bleach with vinegar or ammonia-based cleaners.
How do you keep flies away from trash cans?
Flies are drawn to moisture and decomposing food waste, so the first step is keeping organic waste sealed in tied bags and the lid closed. Rinse food residue from containers before tossing them, clean the bin regularly to remove the film flies lay eggs in, and keep the bin in shade when possible. A tight-fitting lid plus a weekly rinse cuts fly activity sharply. Persistent flies usually mean residue is trapped under the rim or at the base.
How often should you clean and disinfect a trash can?
A weekly rinse handles light household use. Disinfect the bin thoroughly every two to four weeks, and more often in summer or if you compost, cook with raw meat, or notice odor and flies. Recycling bins need cleaning too, since sticky residue from bottles and cans attracts pests. If the bin sits in direct sun or you have a large household, lean toward the shorter end of that schedule.
Can a professional trash can sanitizing service help reduce bacteria and odors?
Yes. Professional bin cleaning uses high-pressure wash equipment and commercial sanitizing agents that reach the base, walls, and lid rim where manual scrubbing often misses. The wastewater is contained rather than running into your yard or storm drain, which matters for cross-contamination. Kade Blast Pressure Washing offers recurring plans, and you do not need to be home during service. Check the website for current pricing and availability.
Will cleaning damage an old or cracked bin?
Most plastic bins in rough shape handle cleaning fine, but cracks and loose wheels need care. A professional service can assess the bin before washing and adjust pressure so it does not split weak plastic. If a bin is already falling apart, ask about it when booking so the crew knows what to expect. Replacing a badly cracked bin is often the better move, since cracks trap residue and moisture.
Your bins will not clean themselves, and a hot week is all it takes for odor and pests to return. Get started with Kade Blast Pressure Washing and keep your trash cans sanitary, odor-free, and off your to-do list.
