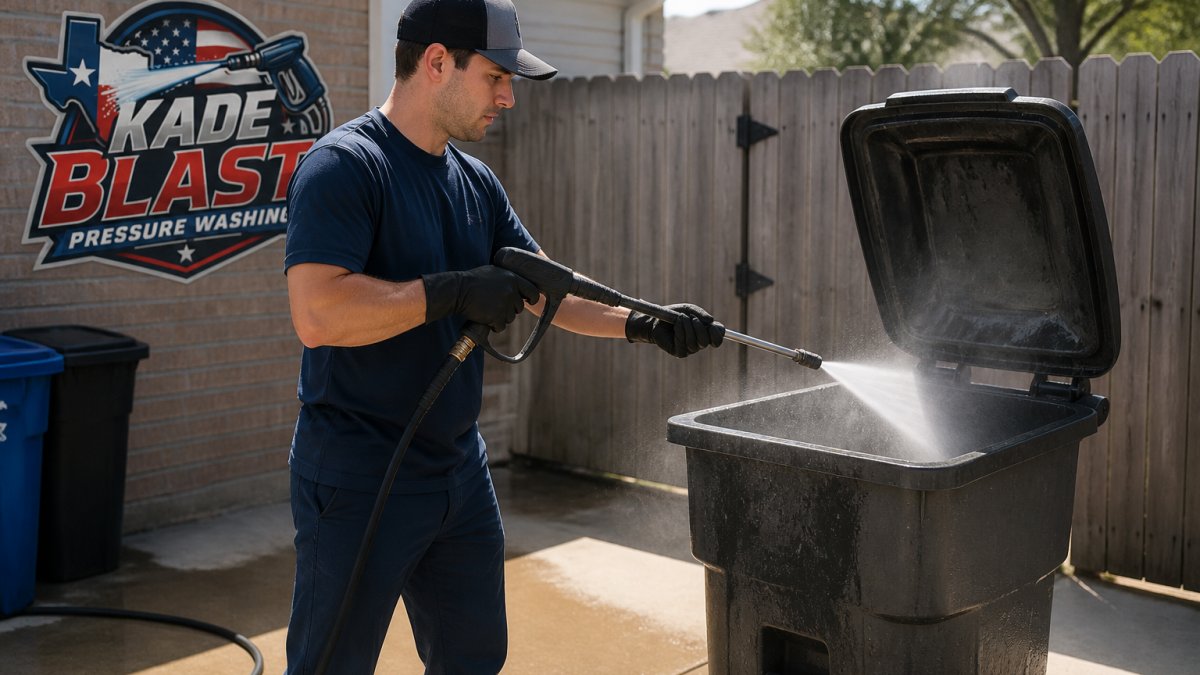
Table of Contents
- Why Smelly Trash Bins Happen and What You'll Need
- Step 1: Empty the Bin and Scrape Out Residue
- What to Use to Clean a Garbage Can
- Can You Use Vinegar to Clean a Garbage Can?
- Step 2: Scrub, Rinse, and Wash the Outside of the Bin
- How to Clean the Bottom of a Garbage Can
- Step 3: Dry the Bin and Deodorize Before the New Liner
- How Often to Clean Outdoor Trash Bins
- Frequently Asked Questions
Last Updated: October 21, 2026
Why Smelly Trash Bins Happen and What You'll Need
Learning how to clean smelly trash bins starts with understanding why they stink in the first place. Here's the short answer: bacteria feed on food and liquid residue, and heat speeds up the whole process. The result is a sour, rotten stench that lingers even after the can is empty. Let's break down the cause and the fix.
The Real Source of Bin Odor
Bin odor is the smell of bacteria breaking down food residue and liquid that collect at the bottom of the can. Bag leaks, loose scraps, and drips from the truck all leave a film. That film feeds bacteria, and bacteria make the smell. Moisture trapped under the liner makes it worse. In warm weather, a single leaky bag can turn a clean can into a stench factory in days.
Tools and Supplies Checklist
Gather these before you start, so you're not running back to the garage mid-scrub:
- Rubber gloves and eye protection
- Garden hose or pressure nozzle
- Long-handled scrub brush
- Dish soap or all-purpose cleaner
- White vinegar and baking soda
- Disinfectant spray
- Old towels or rags
- Odor absorber (cat litter or zeolite)
Step 1: Empty the Bin and Scrape Out Residue
Start by pulling out the last bits of trash and scraping off anything stuck to the walls. Remove the liner, then use a putty knife or gloved hand to loosen caked-on grime. Tip the bin to dump loose debris before you add water. This one step saves you from scrubbing a soup of old food later.
Next, spray down the inside of the bin with a hose to soften dried residue. Let it sit for a few minutes. The moisture loosens the film that causes most of the bad smell.
What to Use to Clean a Garbage Can
The best cleaners for a garbage can are simple: soap, water, and an all-purpose cleaner handle most messes. A disinfectant finishes the job. Skip harsh chemicals unless you need them, and never mix products.
Soap, Water, and All-Purpose Cleaner
Dish soap cuts grease and food film well. Mix a few squirts with warm water in the bin or a bucket. An all-purpose cleaner works for the outside and lid. For a stronger scrub, make a paste of baking soda and water and spread it on stubborn spots.
Disinfectants and Safe Chemical Use
Use a disinfectant after scrubbing to kill bacteria on the inside of the bin. Follow the label, wear gloves, and keep the area ventilated. Never mix bleach with vinegar or ammonia; that combination releases dangerous fumes, per safety guidance from the EPA. Rinse well after disinfecting, especially if pets or kids are nearby.
Can You Use Vinegar to Clean a Garbage Can?
Yes, vinegar is a safe, effective choice for cleaning a garbage can. White vinegar cuts through grime and helps neutralize odors without harsh fumes. Spray it full-strength on the inside, let it sit, then scrub. For extra odor removal, sprinkle baking soda first, then spray vinegar over it and let the fizz work.
Vinegar is a good pick for families and pet owners who want a gentler option. It won't disinfect as strongly as a dedicated product, so pair it with a disinfectant for the best result.
Step 2: Scrub, Rinse, and Wash the Outside of the Bin
Scrub the inside walls and the bottom of the bin with your long-handled brush and soapy water. 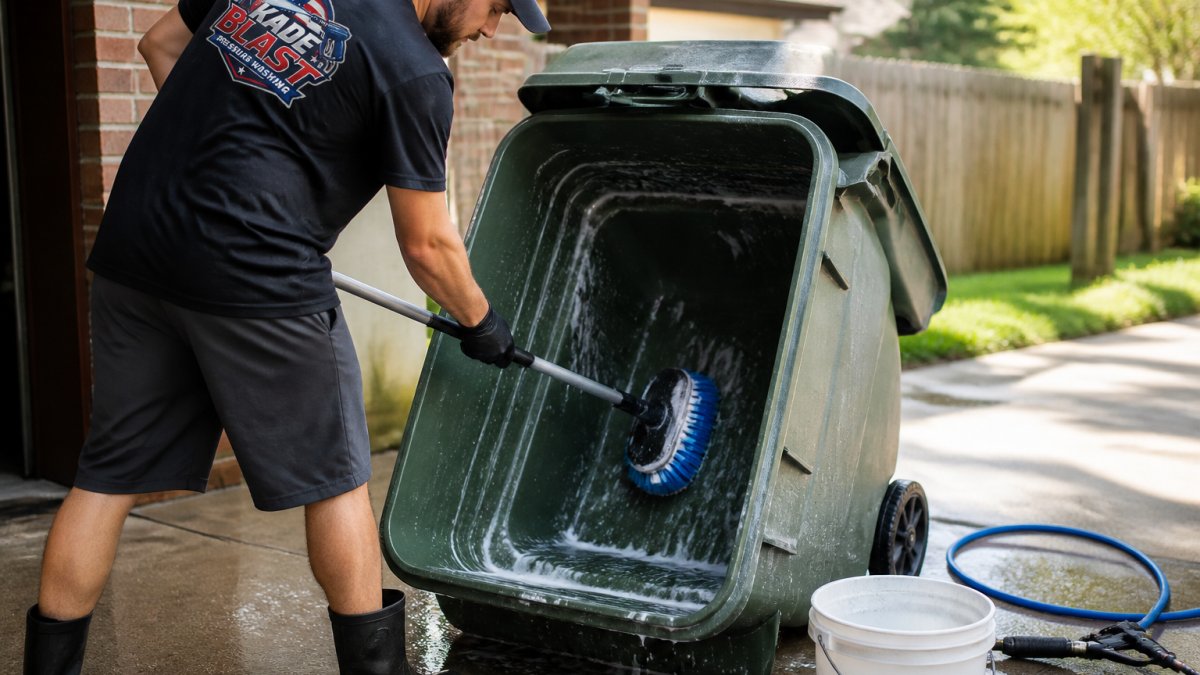
Work top to bottom so dirty water runs down. Then wash the outside of the bin, the lid, and the handles. Rinse everything until the water runs clear and no soap remains. Leftover soap attracts dirt and holds moisture.
How to Clean the Bottom of a Garbage Can
The bottom of the bin is where odor actually lives. Liquid from leaky bags, drips from the truck, and condensation all pool at the lowest point, and that standing liquid is the food source bacteria return to even after the walls are clean. Scrubbing the walls without addressing the bottom is why bins smell again within days.
Diagnose What Is Down There First
Before you scrub, tip the bin and look. The bottom usually holds one of four things, and each needs a different approach:
- Standing liquid, pour it into a bucket, not onto the driveway or into a storm drain. This is the highest-priority odor source.
- Caked food or pet waste residue, soften with warm soapy water for 10 minutes before scraping.
- A stuck or torn liner, remove it fully; a shred of plastic traps moisture under the next bag.
- Sand, grit, or kitty litter, sweep or vacuum it out dry before adding water, or you will make mud.
Clean the Bottom by Bin Material
Plastic bins and wheeled carts: Flip the cart on its side or, if the lid allows, tip it fully upside down. Scrub the base with a stiff brush and warm soapy water, paying attention to the corners where the walls meet the floor. For stubborn buildup, lay the bin on its side and let full-strength white vinegar sit on the bottom for 10 minutes, then scrub and rinse. Avoid metal scrapers on plastic, they gouge the surface and create new places for residue to hide.
Metal bins: Use a pH-neutral cleaner rather than bleach or vinegar, which can corrode galvanized and painted metal over time. Dry the bottom thoroughly with a towel after rinsing; metal that stays wet rusts at the seams, and rust holds odor.
Wheeled carts with seals and hinges: Keep standing water away from the hinge and the rubber gasket around the lid. Wipe those parts with a damp cloth and a mild cleaner rather than hosing them down, and dry them before closing the lid.
Handle the Rinse Water Responsibly
Dirty rinse water from the bottom of a bin carries food residue, grease, and cleaning chemicals. Pour it into a utility sink, a toilet, or a bucket for proper disposal, not into a storm drain, which typically flows untreated to local waterways. If you are washing on a driveway, contain the runoff with a towel or absorbent mat and dispose of it with the trash.
Stop the Bottom From Getting Wet Again
Once the bottom is clean and fully dry, add a thin layer of odor absorber, baking soda, zeolite, or a scoop of cat litter, before the new liner goes in. Check the bag for tears before you drop it in, and replace any liner that has leaked. A dry, protected bottom is the difference between a bin that stays fresh for weeks and one that smells again by the next pickup.
Step 3: Dry the Bin and Deodorize Before the New Liner
Drying is the step most people skip, and it's why bins keep smelling. Tip the bin upside down and let it air-dry in the sun. Wipe down the lid and rim with a towel. Once dry, add an odor absorber: a sprinkle of baking soda, cat litter, or zeolite at the bottom. These soak up moisture and neutralize lingering smells before you drop in a fresh liner.
How Often to Clean Outdoor Trash Bins
Clean outdoor trash bins at least once a month, and more often in hot weather or if you notice odor. A common approach is a quick rinse weekly and a full scrub monthly. In summer, weekly washing keeps stench and pests away.
If the job feels like too much, or your bin is old and rough, professional cleaning is an option. Our contained process uses high-pressure equipment and family-safe deodorizers to remove caked-on grime without you lifting a brush. You don't even need to be home. For persistent odors and pests, a recurring plan keeps bins fresh month after month.
Frequently Asked Questions
How do I stop an outdoor bin from smelling between cleanings?
Start by keeping the lid closed so rain and pests stay out, and bag all food waste before it goes in. Line the bottom of the bin with newspaper or a small amount of cat litter or zeolite to soak up liquid residue. After each garbage day, spray the empty bin with white vinegar and let it air-dry in the sun. These small habits slow bacteria growth and keep bad smells from building up between full washes of your smelly trash bins.
Can I use vinegar to clean a garbage can, and does it really work?
Yes. White vinegar is a safe, cheap option for routine cleaning. Its acidity helps break down food residue and neutralizes many odors without harsh fumes. Mix equal parts white vinegar and water in a spray bottle, mist the inside and outside of the bin, and let it sit for a few minutes before scrubbing and rinsing. For heavy stench or visible mold, follow with a disinfectant, since vinegar alone does not kill all bacteria.
How often should I clean my outdoor trash bin?
Most households should wash outdoor bins every two to four weeks, and weekly during hot summer months when heat speeds up bacteria growth and stench. If you notice flies, maggots, or a stubborn smell that lingers after rinsing, clean immediately rather than waiting for the next scheduled wash. Homes with pets, diapers, or lots of food scraps usually need more frequent cleaning than households that mostly toss dry waste.
What is the best way to dry a trash bin after cleaning it?
Tip the bin on its side or upside down on a sloped driveway so water drains out, then let it air-dry in direct sunlight for a few hours with the lid open. Sunlight helps kill leftover bacteria and evaporates moisture that causes odor. Never put a new liner in a wet bin, because trapped moisture restarts the smell cycle. If you are short on time, wipe the inside dry with old towels before replacing the bag.
Cleaning a smelly bin by hand works, but it's a messy Saturday chore that comes back fast. Kade Blast Pressure Washing makes it simple with commercial high-pressure cleaning, sanitizing agents, and eco-friendly deodorizers that leave bins odor-free. Book online in under a minute, skip the scrubbing, and let our team handle the grime. Get started with Kade Blast Pressure Washing and enjoy fresh, sanitary bins without the mess.