Last Updated: October 26, 2026
Quick Summary
Outdoor garbage can cleaning involves emptying the bin, scrubbing the inside and outside with dish soap and a brush, applying disinfectant, and rinsing thoroughly. For a moderate household, clean your garbage can every 2-3 weeks, or adjust the frequency based on food waste volume, climate, and pest activity.
- Gather basic supplies: garden hose, long-handled brush, rubber gloves, dish soap, baking soda, and disinfectant before starting.
- Never mix bleach with ammonia or other cleaners, as the fumes are toxic according to the CDC.
- Focus on the bottom seam, drain holes, and underside of the lid where liquids pool and bacteria thrive.
- Rinse food containers before placing them in the bin and bag wet waste separately to prevent liquid leaks.
- Clean the day before pickup so the bin sits empty and dry for the longest possible stretch.
Table of Contents
- Why Outdoor Garbage Can Cleaning Matters for Your Home
- What You'll Need: Trash Can Cleaning Supplies
- Step-by-Step: How to Clean a Trash Can
- How to Get Rid of Garbage Can Odor Permanently
- How Often to Clean Garbage Cans for Best Results
- Common Mistakes to Avoid When Cleaning Outdoor Bins
- When to Call a Professional for Outdoor Garbage Can Cleaning
- Frequently Asked Questions
Why Outdoor Garbage Can Cleaning Matters for Your Home
A dirty outdoor garbage can is more than an eyesore.
The good news: outdoor garbage can cleaning is straightforward. Do it yourself with basic supplies or hire a professional; either way, understanding the process helps you maintain your bins.
What You'll Need: Trash Can Cleaning Supplies
Before cleaning your outdoor garbage cans, gather the right materials. You don't need expensive equipment.
Basic supplies for DIY cleaning:
- Garden hose with spray nozzle
- Long-handled brush or deck brush
- Rubber gloves (heavy-duty)
- Dish soap or all-purpose cleaner
- Baking soda (for odor control)
- Disinfectant spray or bleach solution (1 part bleach to 10 parts water)
- Bucket for mixing solutions
- Old towels or rags
For stubborn buildup:
- Pressure washer (optional, but effective)
- Stiff-bristled scrub brush
- Vinegar (natural deodorizer)
- Enzyme-based cleaner (breaks down organic matter)
Check your bin's material before choosing cleaners.
Step-by-Step: How to Clean a Trash Can
The process is simple but requires attention to detail.
Step 1: Empty and Rinse the Bin
Start with an empty bin; if it's collection day, wait until after pickup. Tip it on its side and rinse out loose debris, food scraps, and liquid with your garden hose.
Pay special attention to the bottom, where most gunk accumulates. Rinse until the water runs clear; this step makes everything easier.
Step 2: Scrub the Inside and Outside
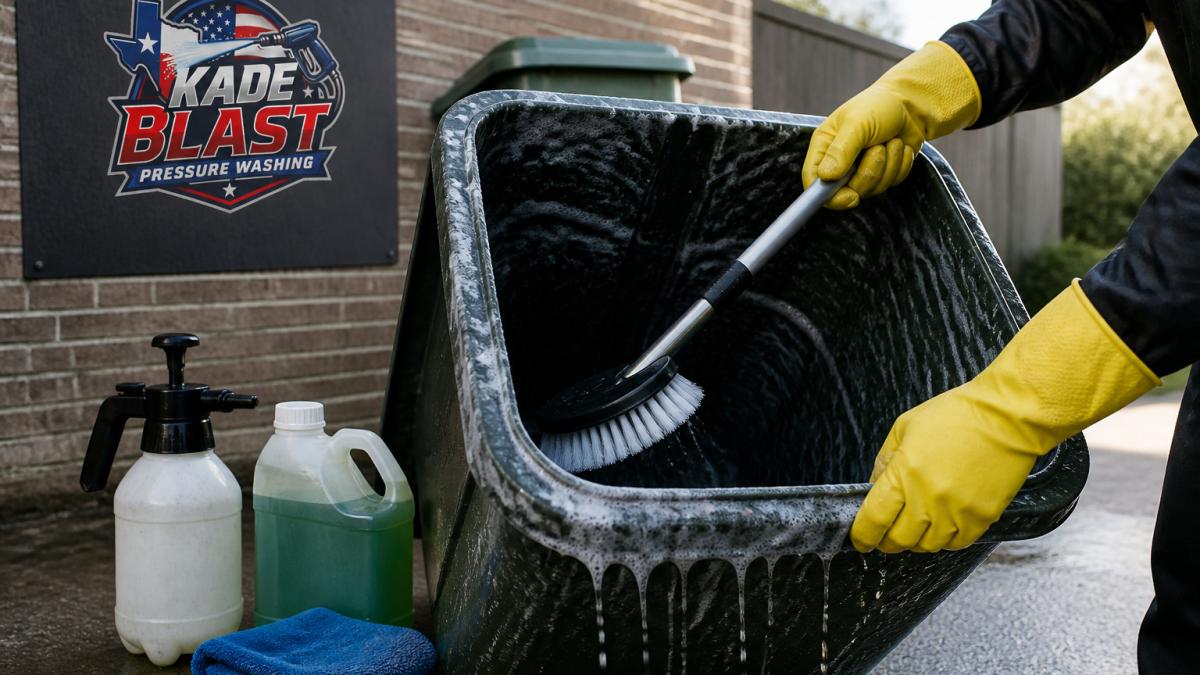
Mix warm water with dish soap in your bucket. Dip your long-handled brush in and scrub the entire inside, working top to bottom.
Use firm pressure on stubborn spots. Focus on corners and crevices where debris hides. The inside of the lid often gets overlooked, scrub it too.
Now tackle the outside. Scrub the handles, lid, and sides, since these high-contact surfaces collect dirt and grime.
Step 3: Apply Disinfectant
Rinse away the soap, then apply a disinfectant to kill bacteria and pathogens.
Important safety note: Never mix bleach with ammonia or other cleaners (the CDC). The fumes are toxic. Use one disinfectant at a time, and rinse thoroughly between applications.
Step 4: Rinse Thoroughly and Dry
Rinse the bin completely with clean water so no soap, vinegar, or disinfectant residue remains.
Let the bin air dry in the sun if possible. If you're in a hurry, wipe it down with clean towels.
How to Get Rid of Garbage Can Odor Permanently
Odor is the biggest complaint homeowners have about trash cans, and most DIY advice handles it badly. Masking the smell with baking soda or scented spray buys a day or two. Permanent odor control means removing what bacteria need to produce smell: organic residue and moisture.
Why the Smell Comes Back
- The bottom seam and drain holes. Liquids pool and dry into a film that re-wets every time a bag leaks.
- The inside of the lid and the rim. Condensation collects here, and it is the surface most people skip.
A Troubleshooting Sequence for Persistent Odors
- Re-wash the seam and lid. Scrub the bottom seam, drain holes, and the underside of the lid with a stiff brush and dish soap. Rinse until the water runs clear.
Safe Cleaners and Material Compatibility
- **
- **
- Never mix bleach with ammonia, vinegar, or other acids. The resulting fumes are toxic. Use one cleaner at a time and rinse between applications.
- Protect nearby plants. Rinse runoff away from garden beds, or wash the bin on a driveway or lawn edge where diluted soap will not pool around roots.
Long-Term Odor Prevention
- Rinse food containers before they go in the bin.
- Bag wet waste separately so liquids do not leak into the bin.
- Keep the bin shaded when possible.
- Line the bottom with newspaper or a commercial absorbent pad to catch drips before they pool.
- Clean the day before pickup so the bin sits empty and dry for the longest possible stretch.
Professional cleaning is an option when buildup sits where you can't reach. Kade Blast provides high-pressure cleaning and eco-friendly deodorizers. For DIY cleaning, follow the schedule below.
How Often to Clean Garbage Cans for Best Results
There is no single correct cleaning interval. Frequency should follow four drivers: food waste volume, climate and season, pest activity, and whether the bin holds trash or recycling. Use the framework below instead of guessing.
Set Your Baseline by Use
| Bin use | Typical household | Baseline interval |
|---|---|---|
| Light | One or two people, little food waste | Every 4 weeks |
| Moderate | Family of four, regular food waste | Every 2-3 weeks |
| Heavy | Large family, frequent food disposal, pet waste | Weekly |
| Recycling only | Rinsed containers, no food | Every 4-6 weeks, or when visible residue appears |
Adjust for Season and Climate
- Summer and hot climates: Bacteria double quickly in heat. Shorten the interval by half, weekly for moderate use, every 1-2 weeks for heavy use.
- Winter and cold climates: Decomposition slows. Monthly cleaning is usually sufficient unless the bin is indoors or heated.
- Spring and fall: Use the baseline interval, but watch for pests as temperatures swing.
- Rainy or humid periods: Moisture trapped in the bin encourages mold. Dry the bin fully after washing and check the lid interior more often.
Adjust for Pests
- If you see flies or maggots, clean immediately and shorten your interval by one step.
- Keep the lid closed and the bin away from the house; rodents follow scent trails.
- In areas with active rodent or bear pressure, clean more often and store the bin securely between collections.
Signs You Need to Clean Sooner
- Visible dirt, film, or stains on the interior walls
- Noticeable odor when the lid opens
- Insects or pests around the bin
- Sticky residue on handles or the exterior
- Liquid pooling at the bottom
A Practical Schedule That Works
If you'd rather not track a schedule, Kade Blast offers convenient recurring monthly plans. A one-time professional cleaning is also an option.
Common Mistakes to Avoid When Cleaning Outdoor Bins
Mistake 1: Skipping the bottom The bottom accumulates the most grime. Rushing through this area leaves behind bacteria and odor sources. Always rinse and scrub the bottom thoroughly.
Mistake 2: Using the wrong cleaner for your bin material
Mistake 3: Not rinsing completely
Mistake 4: Cleaning a full bin
Mistake 5: Ignoring the lid and handles
Mistake 6: Storing the bin wet
When to Call a Professional for Outdoor Garbage Can Cleaning
Some situations call for professional help.
Consider hiring a professional if:
- Your bin has deep stains or buildup that won't come off with scrubbing
- You have mobility issues or physical limitations
- You want a faster, more thorough clean
- You prefer not to handle waste-contaminated materials
- Your bin is in a tight spot difficult to access
- You want recurring service to stay on top of odor and cleanliness
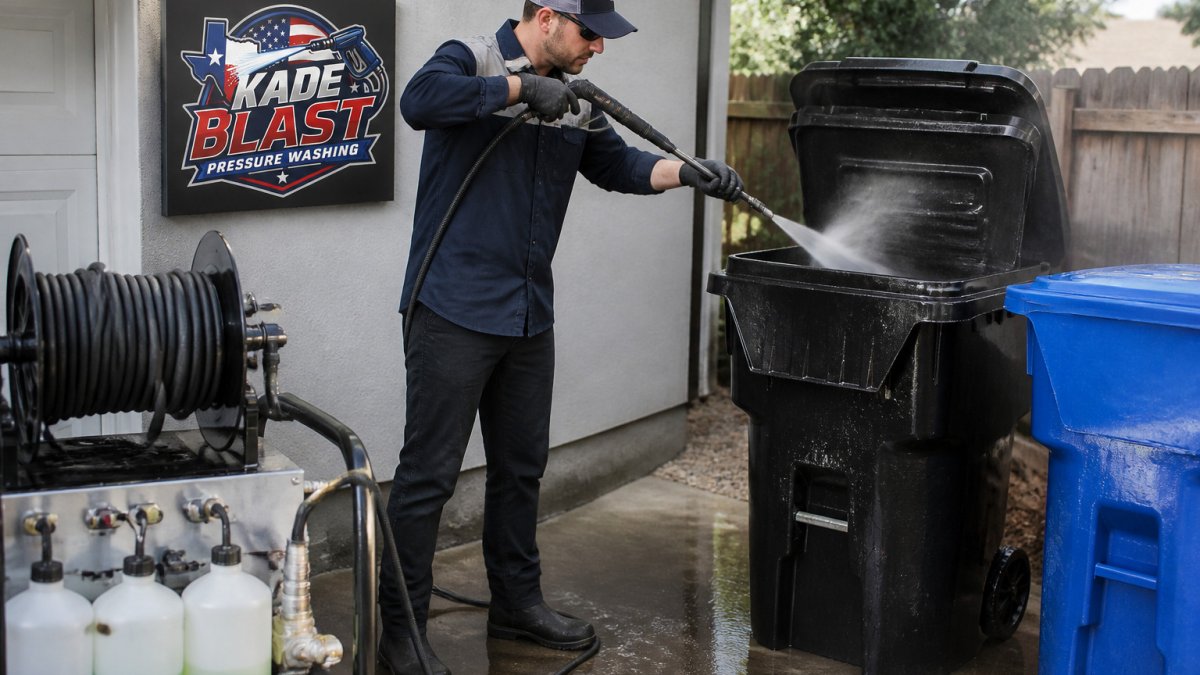
Kade Blast Pressure Washing uses commercial-grade equipment, specialized sanitizing agents, and high-pressure cleaning technology to clean bins.
Keeping your outdoor garbage cans clean is part of bin maintenance. Whether you handle it yourself or hire a professional, regular maintenance is an option. Kade Blast Pressure Washing provides outdoor garbage can cleaning with commercial-grade equipment and eco-friendly deodorizers. Book a service with Kade Blast Pressure Washing today.
Frequently Asked Questions
How do you clean and sanitize an outdoor garbage can?
Start by emptying the bin and rinsing it with water. Scrub the inside, outside, lid, and handles with soap and a stiff brush. Allow the bin to air dry completely before use.
What are the best trash can cleaning supplies to use?
Use a stiff-bristled brush and mild dish soap. If you lack pressure-washing equipment, a garden hose with a spray nozzle is an option.
How often should you clean an outdoor garbage can?
Kade Blast offers convenient recurring monthly plans. For current service details, visit the website.
Why does my garbage can still smell bad after cleaning?
Kade Blast provides high-pressure bin cleaning, specialized sanitizing agents, and eco-friendly deodorizers. Visit the website for service details.
